ORBA 3
Quickstart Guide
Congrats on your Orba 3! This Quickstart Guide will give you everything you need to jump right in and start making music. We’ll teach you how to navigate your Orba 3 and guide you through creating your first custom sample. Let’s get started!
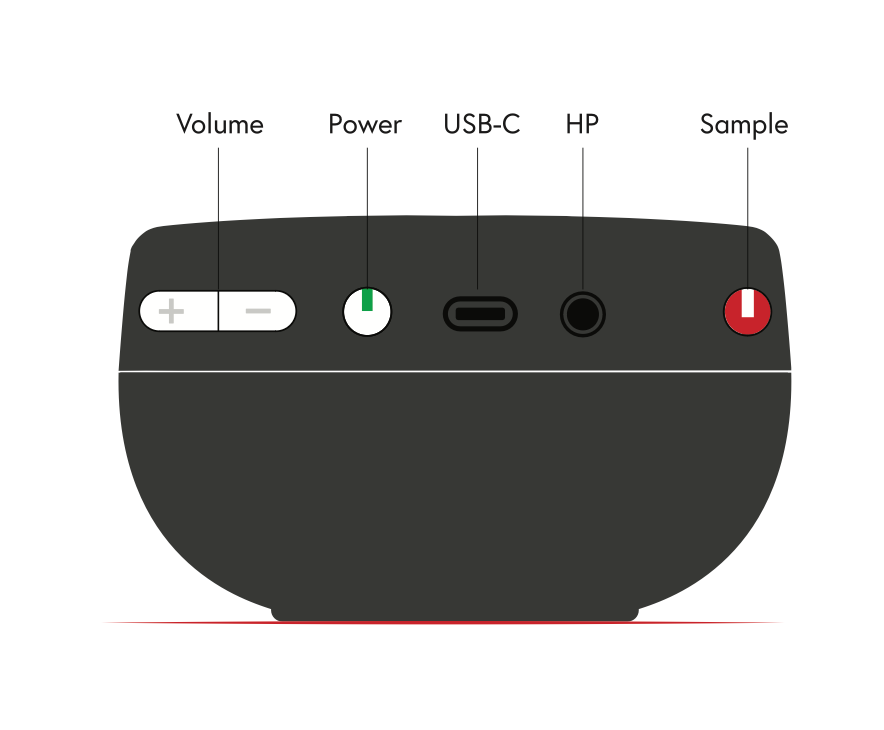

Power up.
Turn on Orba 3 by pressing the power button on the side, next to the volume buttons. We'll get to that Sample button in a second, if you can contain your excitement.
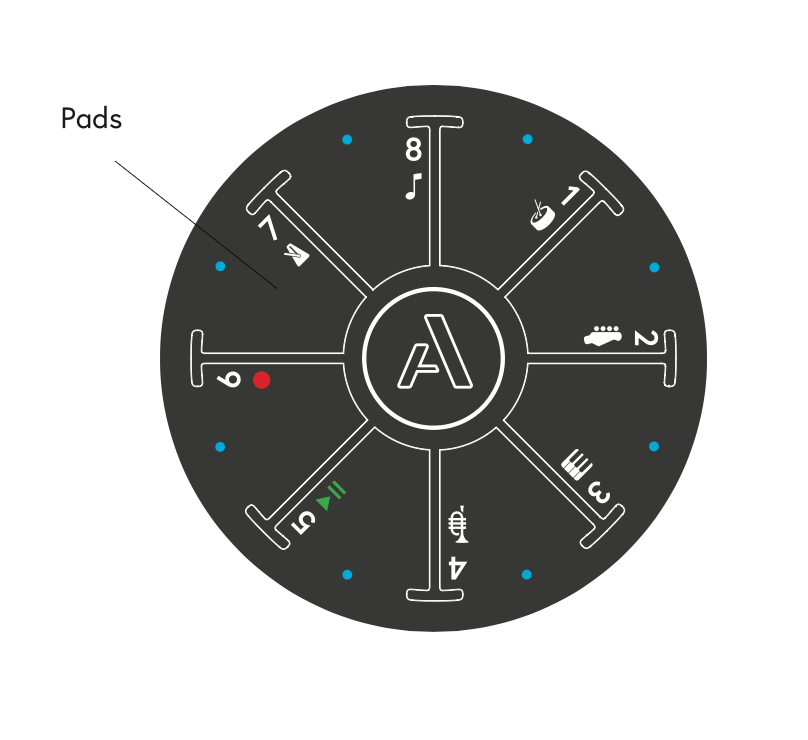

Let's make some music.
Start making music immediately by tapping the eight playing pads.
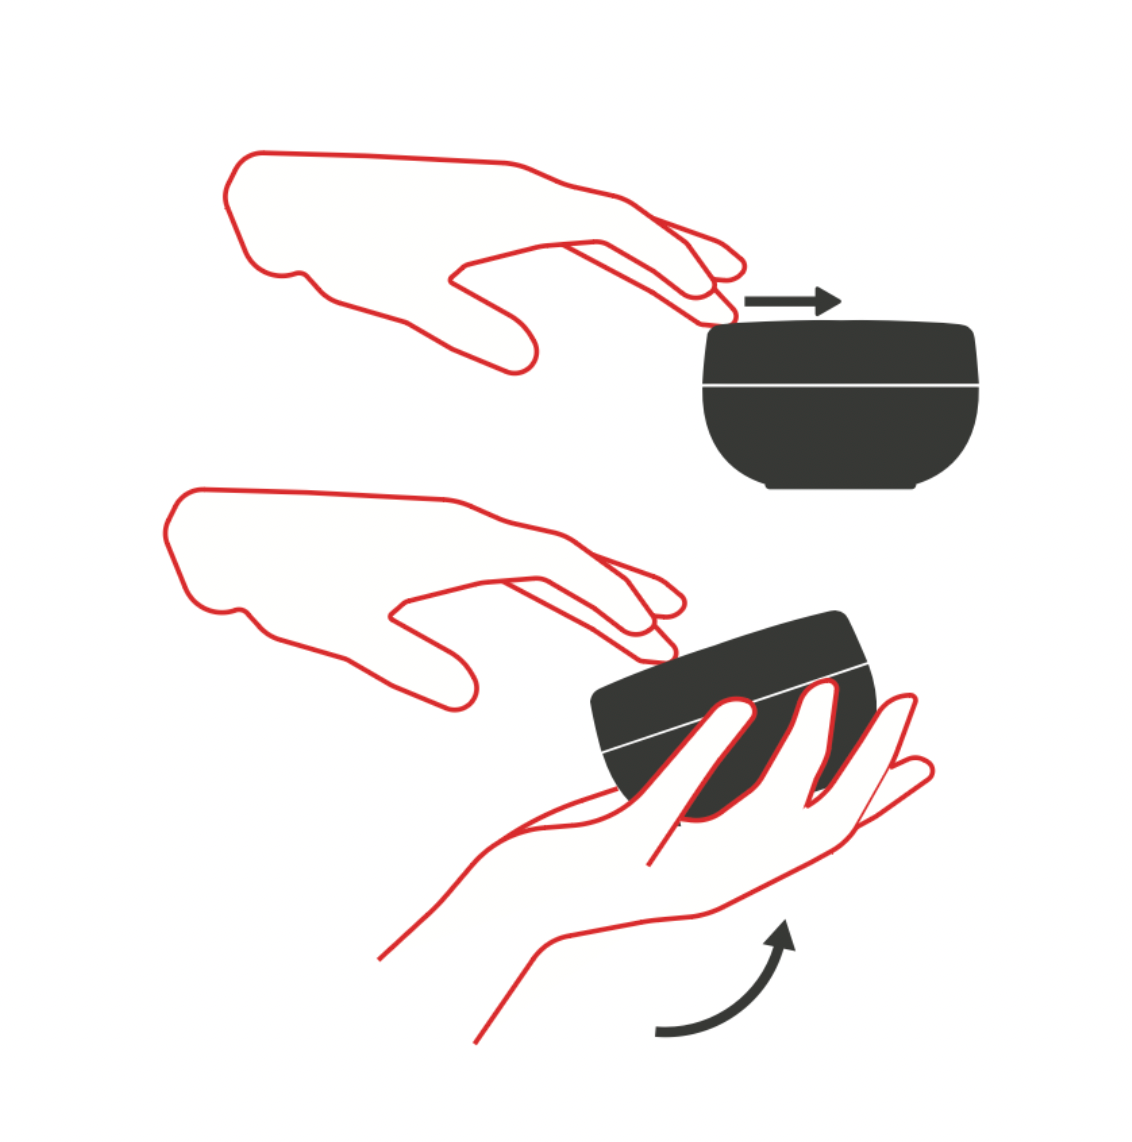

Feel the music.
Try gestures: Radiate in and out on any pad, or Tilt Orba while holding a note to modulate your sound. Each part reacts differently. In Drum Part, hold Pad 8 and shake Orba for a shaker, or bump the side for to hear a clap sound.
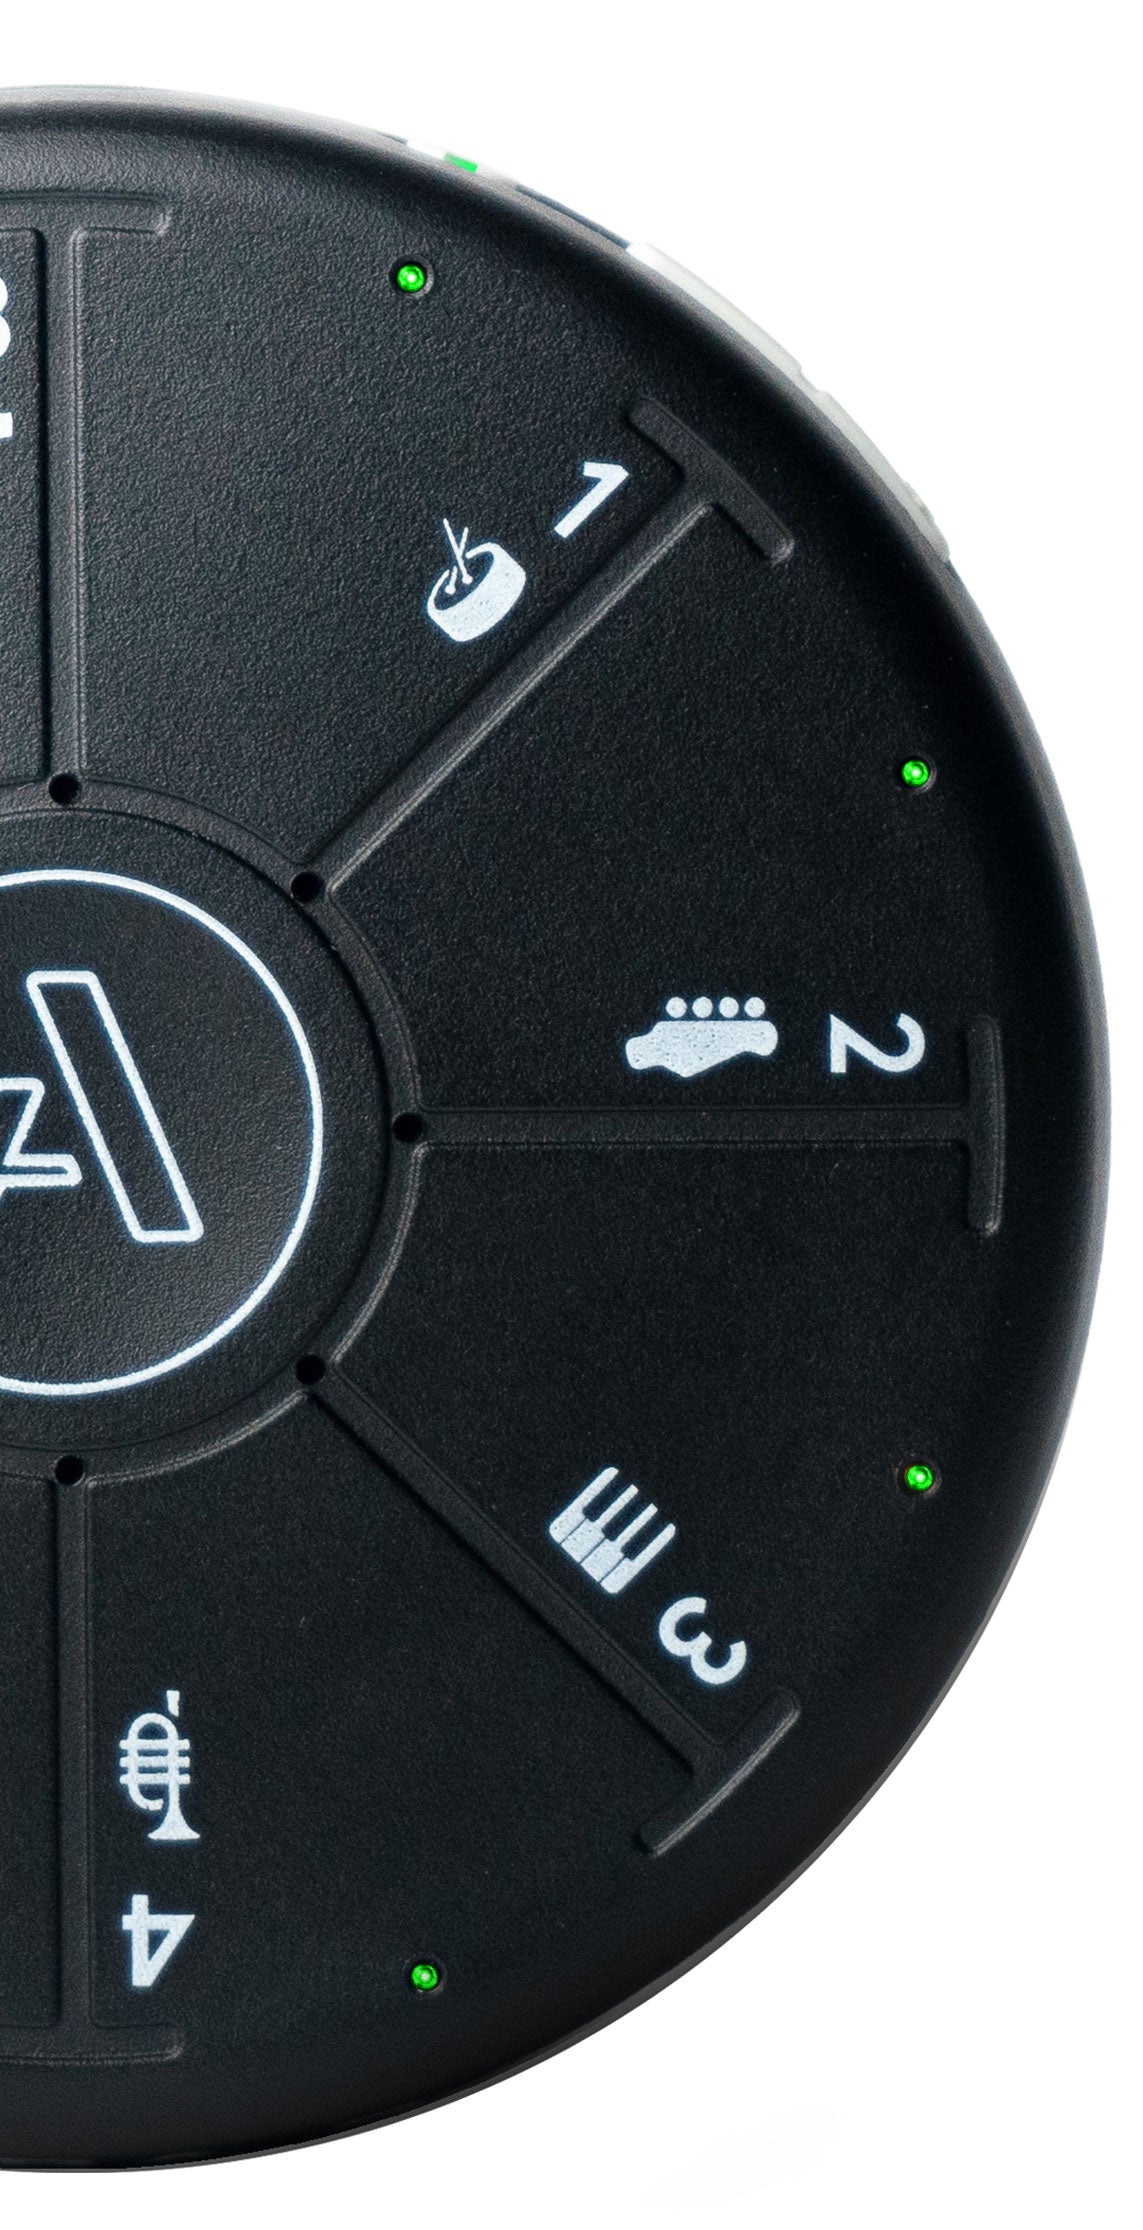

Switch it up.
Orba Offers four parts that you can layer. You can hop from one part to the next. If you're on Drum, tap the [A] button once, and you'll switch to Bass.
Drum: each pad is a different piece of the drum set.
Bass: each pad is a single note in the Major scale.
Chord: each pad plays four notes at the same time.
Lead: each pad is a note in the Pentatonic scale, which is a great way to create melodies.
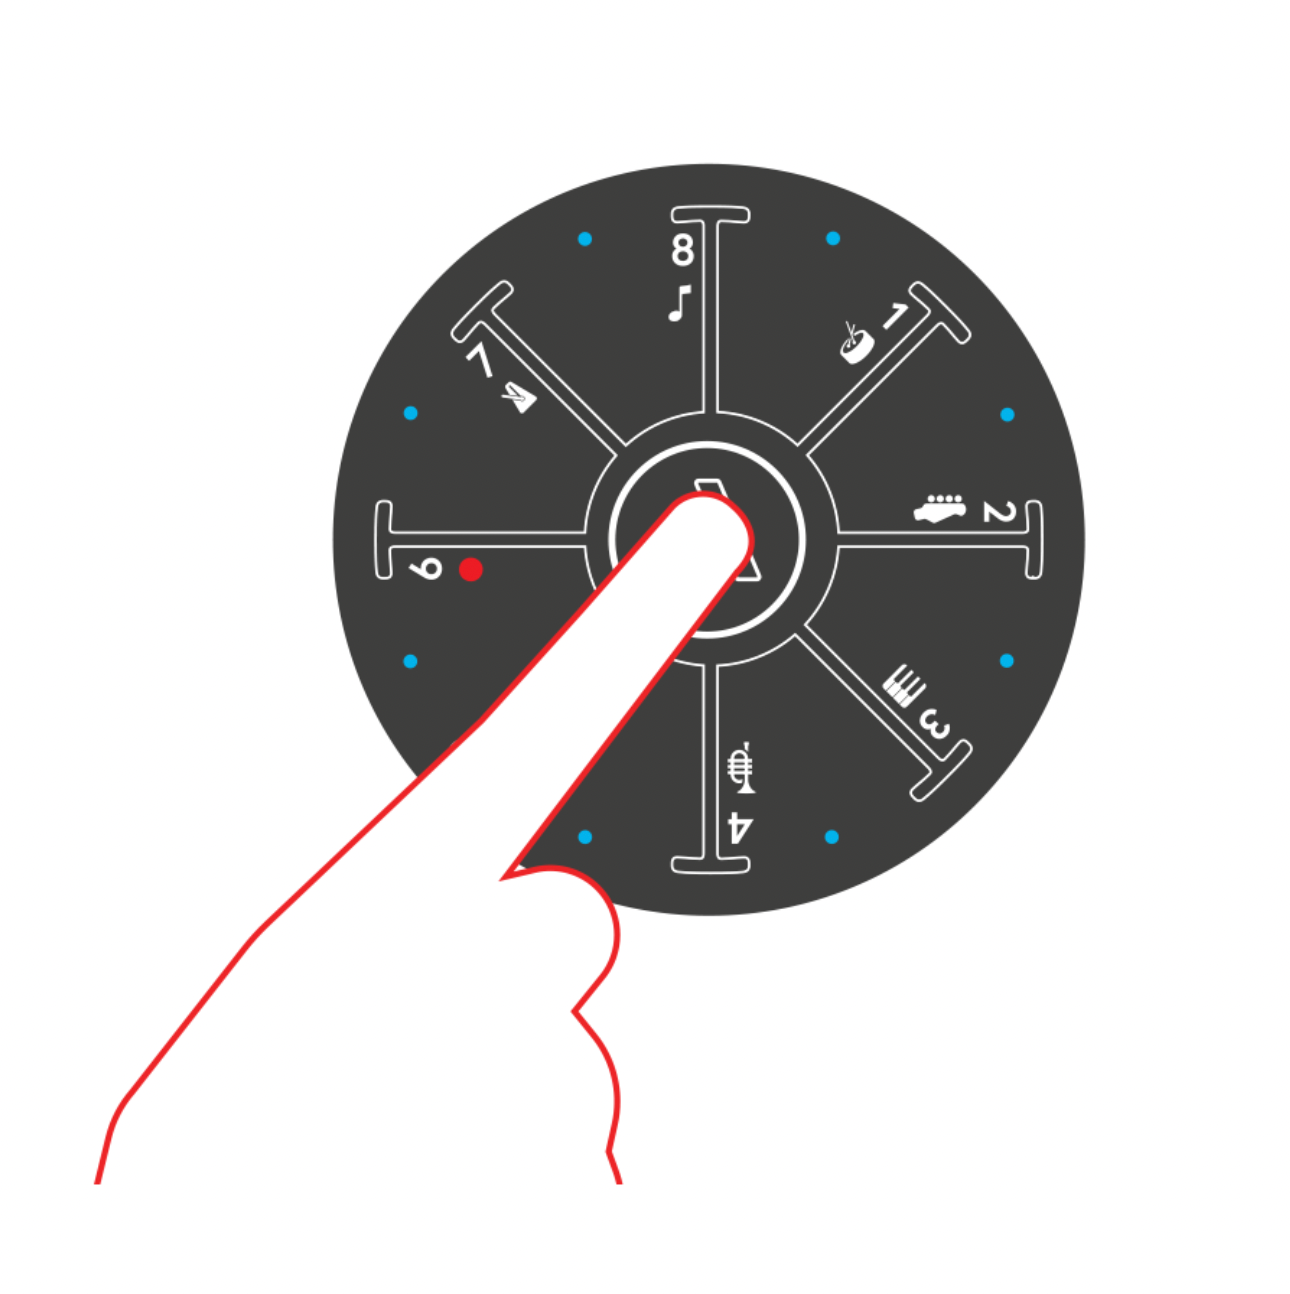

Meet the [A] button.
The [A] button also acts as a shift key. Press and hold the [A] button to see the pads light up in a rainbow. While holding [A], select from eight menu options: four playing parts or other song recording options.
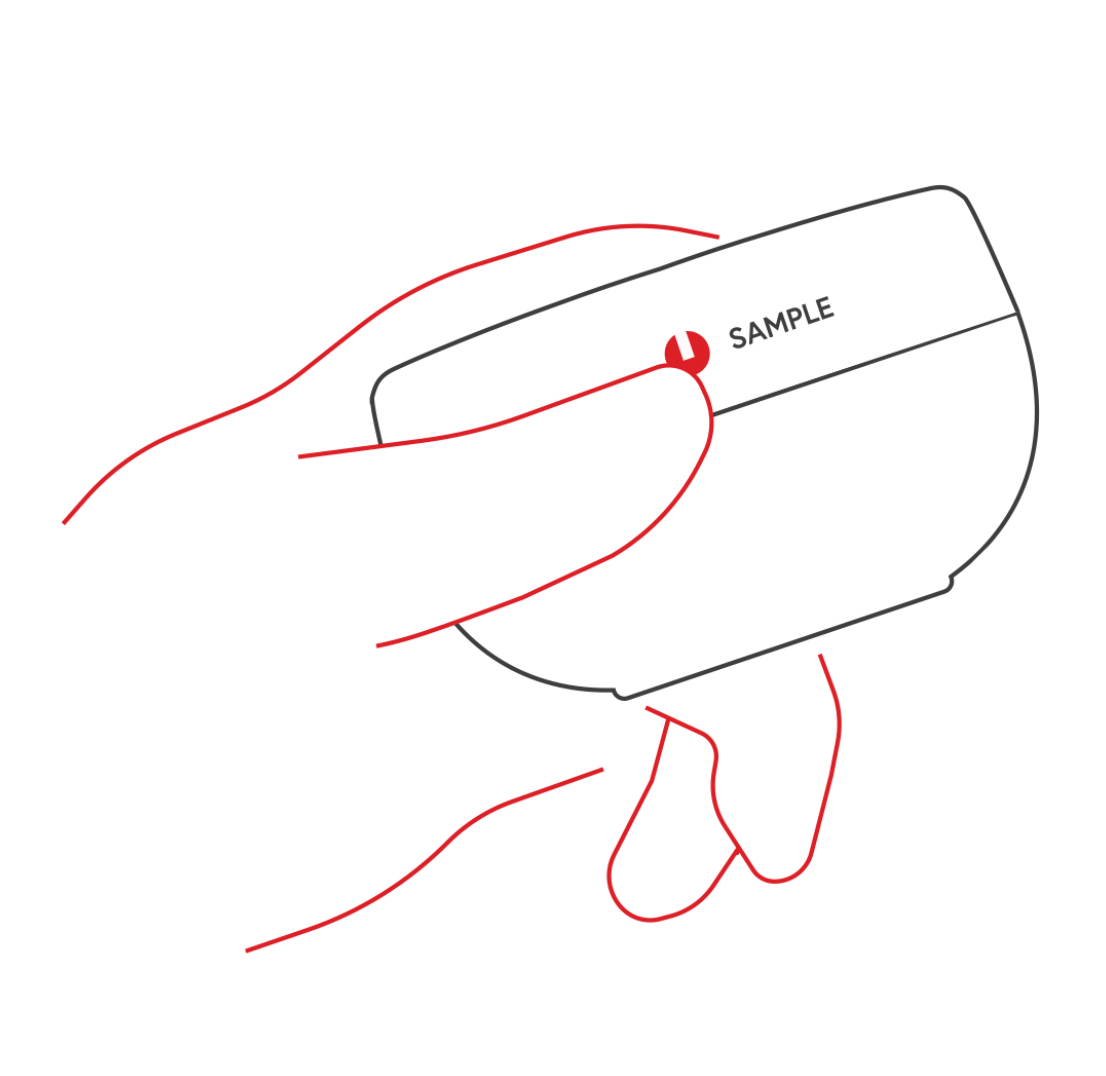

How to sample.
To begin recording your sample, press and release the red Sample button on the side of Orba. Make some noise, then press and release the red Sample button again.
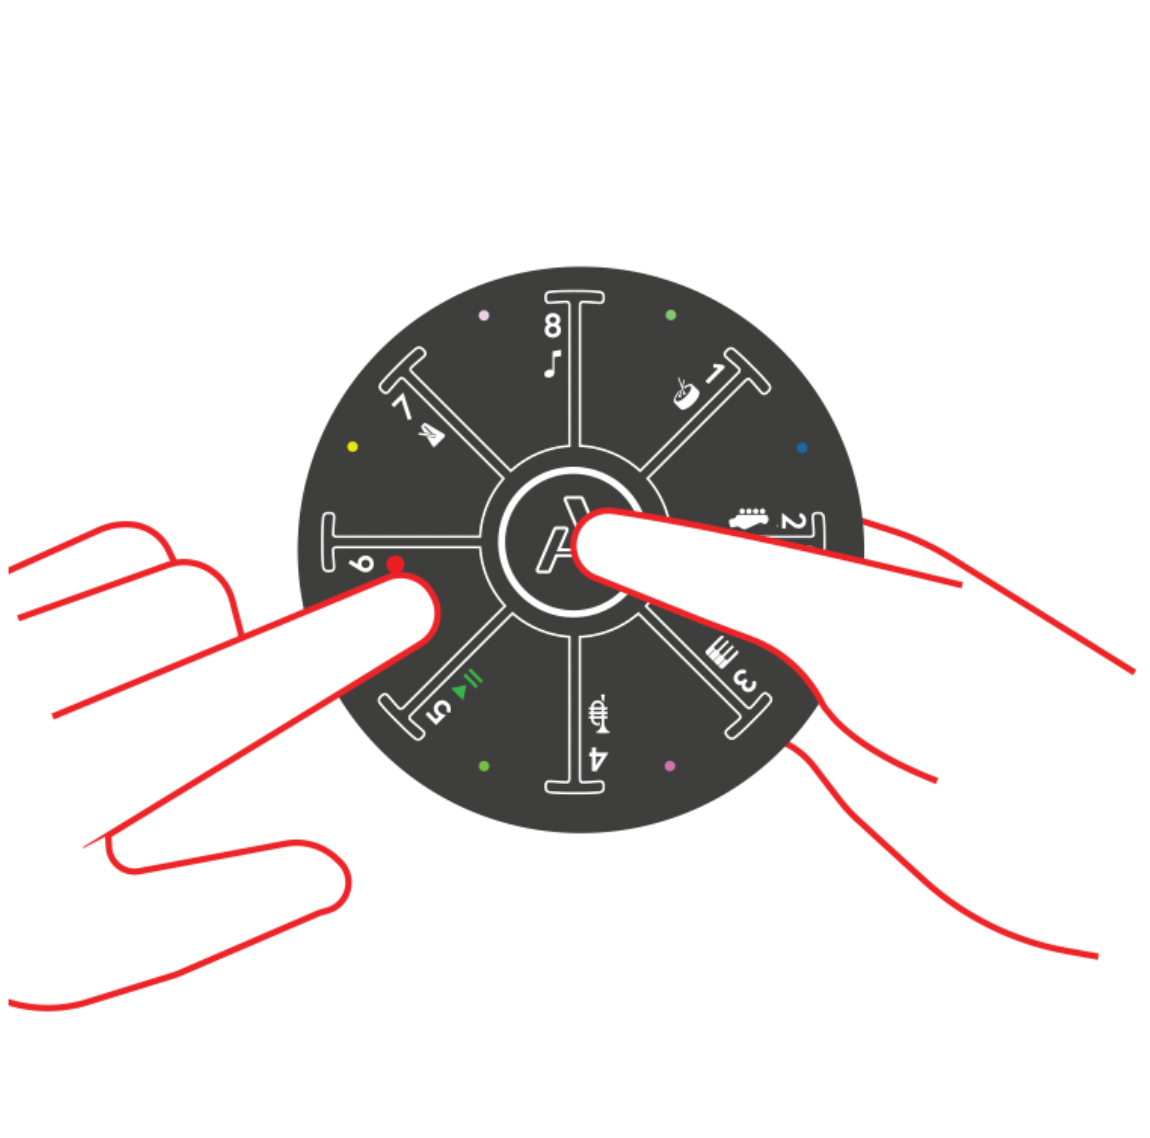

Looper & layer.
To start recording a loop, hold [A] and wait for the rainbow while holding, [A] tap Pad 6 🔴.
Release both pads and you'll hear a metronome play! Tap [A] again when you're ready to close your loop.
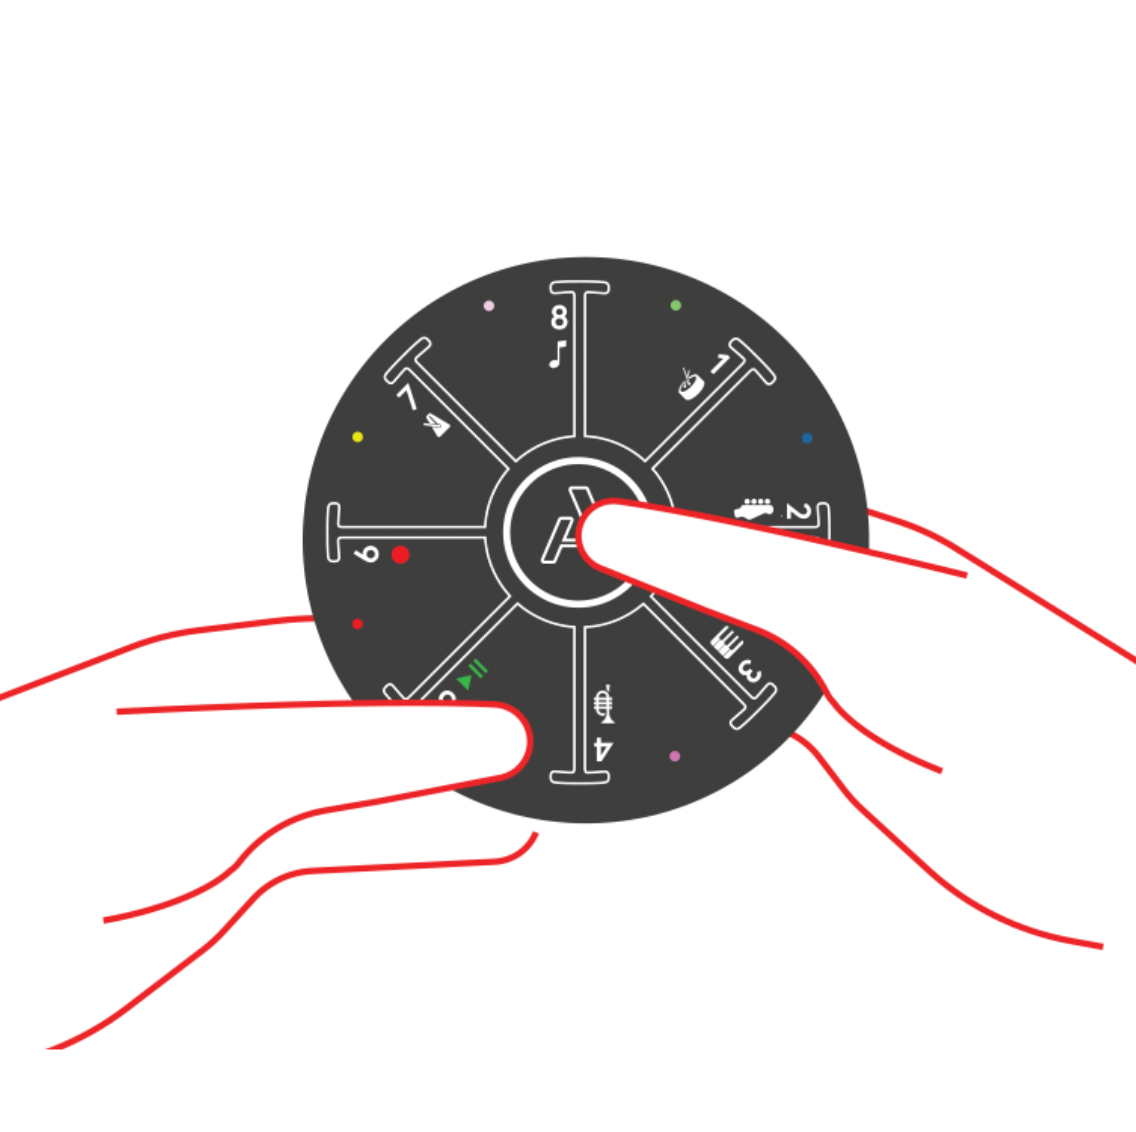

Making a song.
Once you've finished your loop, it will automatically play on repeat. You can layer additional sounds on top as desired. To stop recording: Hold [A], tap Pad 5 ⏯️, and release both pads.

Save, share, and more.
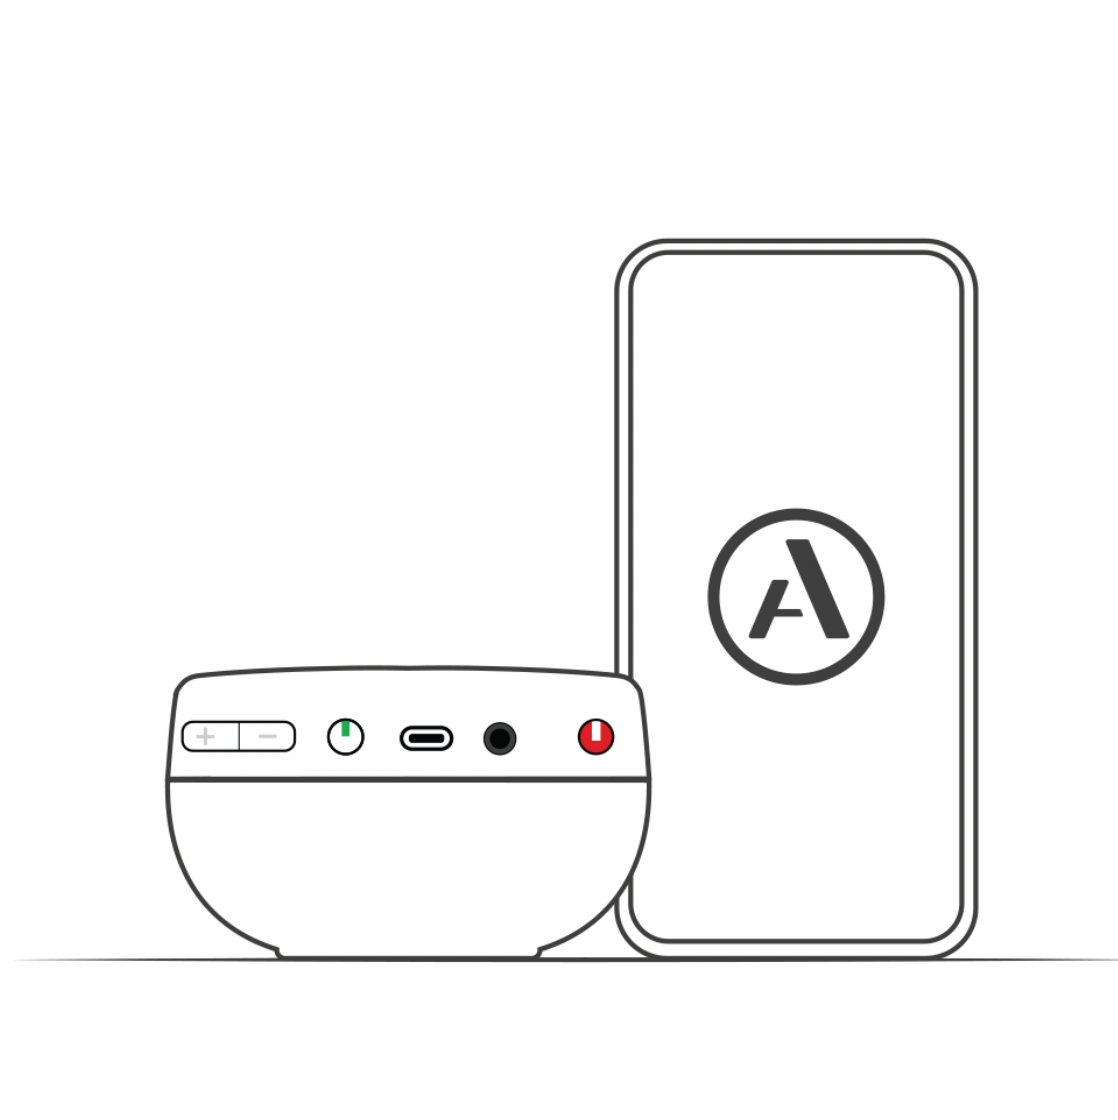
There’s so much more to explore. We recommend visiting the Artiphon Connect app to save your creations, try new sounds, and share them with friends.
Ready to dive deeper?
Check out our interactive video library or visit our downloads page, which is full of helpful links and downloadable DAW templates to enhance your experience and help you create even more.


